Oregon Bikepacking Tour: Steens Mountain Loop (3 days)
- Categories: Mountain Biking , Road Biking
- Comments(2)
- Previous Post
- Next Post
For a while, our road trip to Oregon did not seem it would ever happen — it was postponed at least three times. Then we flip-flopped between tandem touring and mountain biking. I have always liked our road trip setup where we fit all our bikes and gear INSIDE the CR-V, but I didn’t think we could fit both tandem and two mountain bikes without major hassles. Two days before we set out to our mountain biking road trip, our friend from Seattle, Tom, made one more effort in convincing us to bring our tandem along. He threw “Steens Mountain” at us. Oregon Bikepacking calls it “the most stunning, unique route in Oregon.”  Suddenly, we found ourselves living the old proverb, “where there’s a will, there’s a way.” All the bikes were squeezed into the trunk. Steens Mountain, here we come…
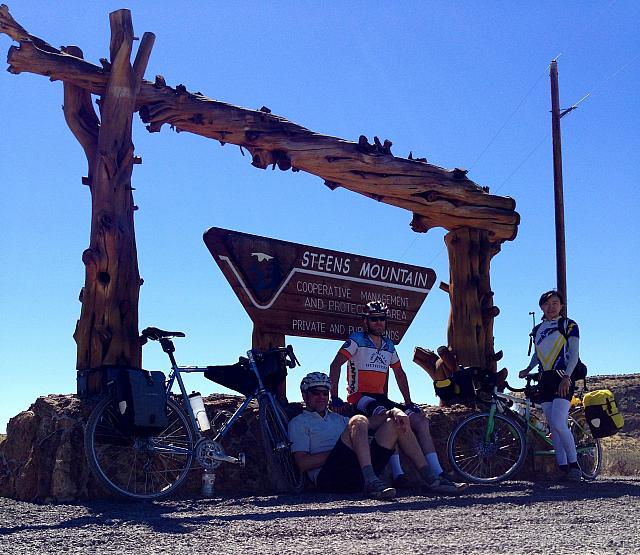
We are three travelers: Mr. Mud and I on our tandem, also our first bikepacking tour; Tom on his touring bike with plenty of previous touring experiences.
On the Route: Steens Mountain Loop
So far, I’ve seen three variations of the loop.
1.  Ellee’s Cycling Sojourner guidebook. Hers is the shortest variation including dry camping at Mann Lake, which I do not recommend (more on that later). She did not go up Steens Mountain, thus offering no beta (knowledge based on experience) on that section.
2. Oregon Bikepacking (OBP). This is the loop we intended to do except that the website suggested five days while we only had three days allocated for it.
3. SilkySlim’s ride report on OBP forum. They did a five day tour with a two night stay at Frenchglen Hotel and an out and back partially up Steens Mountain. The report provided some valuable first-hand knowledge about most of the route and also plenty of stoke.
Despite our intention of doing the OBP loop, we ended up making some modifications (on the third day) to it due to our shortened itinerary, and we are very happy with what we experienced doing our variation.
Day 0: We drove to Crystal Crane Hot Springs and camped for the night. The tent camping itself is very primitive there on an open field. However, its amenities make it worth the $20/night rate. They include an easy-to-get-to hot spring pool, clean restrooms and shower rooms, a standalone kitchen with cookware and utensils for all to use (24 hours), a comfortable common area (like a large living room) that has coffee in the morning (7am-9pm), and a convenience store (9am-9pm), etc. What’s also helpful is since we camped the night before the tour and reserved the night after the tour, we were allowed to leave our vehicle there for two nights for free (YMMV).
Day 1: Crystal Crane Hot Springs to Fields Station: 105 miles / 2.5k’ / 42 miles gravel / 07:54:34 over all time
This is the flattest century I’ve ridden. Kinda nice especially when you have a hard time limit to reach the destination. We had read that the restaurant at Fields closed at 4pm, and we were counting on the food there to refuel. The day before, Tom said we needed to start riding at 6am. After a day of lolly gagging and a short late afternoon mountain bike ride, we went to stash one vehicle at Tom’s friend’s place in Bend. Following that was some last minute shopping and dinner, so we didn’t leave Bend until almost 9pm, which is 2.5 hours away from the Hot Springs. “Okay, we should start riding next day absolutely no later than 6:30am.” At 6:30am in the morning, we were still sipping the wonderful coffee that Tom pressed. 7am, yes, 7am is the hard limit! Any later than that we would be screwed. At 7:23am, we hit the start button on the GPS unit, and we had about eight and half hours to cover the century. Touring Lesson #1: you almost never leave at the time you plan to leave.
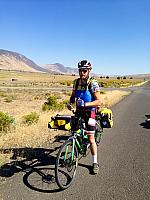
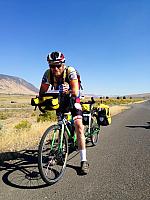
Having expected no easy water refill and full on sun exposure riding through Alvord Desert, we carried all our water, lots of it, with us, including the two camelbaks that Mr. Mud and I were carrying. But what really slowed down the pace was the 42 miles of gravel road after about 50 miles in. Overall, the gravel road is pretty packed, but in September, everything had been dry for a while, and there were some soft spots and washboards when we went through in mid-September. We were joking and laughing early on the ride, but by now, the slowed pace and the noon sun sapped our energy, so we all went quiet. One pedal stroke at a time, we focused on the task at hand. On the ride, we had no idea how long the gravel section was. Tom did the most research on the route and gave us a 30-45mile range. 30 miles passed, and we saw no end of the gravel, then 35 miles passed… The pavement was a very welcome sight when it finally came into view after about 42 miles. By then, we knew we had the ride in the bag for that day. Whew!
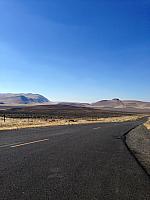
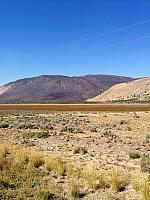
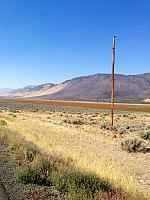
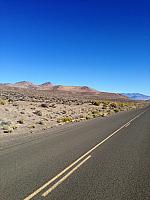
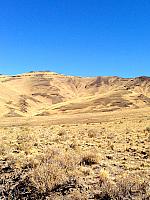
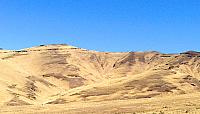
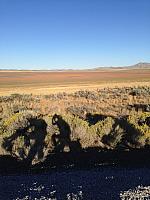
So, this day’s riding has a hump of about 1000′ of elevation gain in the first half. And again in the second half on the gravel. But nothing is very steep. At Mile 40 (or so), you will make a right hand turn off Hwy 78. That’s the east most point on the whole loop. If you have a GPS, you will notice that at one point, your time has shifted by one hour, as if you’ve lost one hour. Do not despair as the time will shift back once you’ve ridden westward far enough. Apparently, this loop crosses time zones somewhere. Desolate is the word that comes to mind when describing the view. At around Mile 72, the Steens Mountain summit will be to your right. It’s interesting to know that the route will take you up the mountain only <5 miles horizontal distance away, but >5000′ up. Enjoy the flat riding when you can.
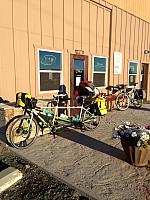
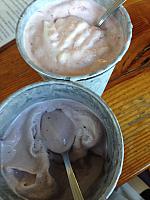
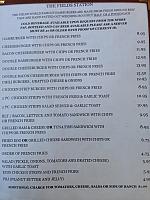
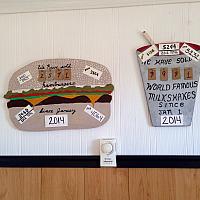
We arrived at Fields Station around 3:15pm. We then learned that the restaurant would take the last order at 4:15pm (for that day at least). That gave us plenty of time to go into our suite (very reasonably priced) to all take a shower and get comfortable. Oh, it felt so good! We made some large orders and when people say the world’s best milkshakes are made here, they are not bluffing.
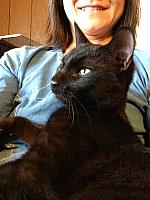
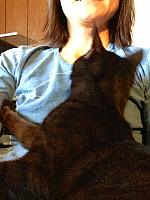
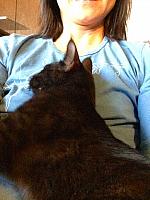
Everyone at the Station was genuinely friendly, including a cute little boy who just got out of school wearing a backpack that was almost as tall as he was and he was very excited about the new books he received. He asked pointing at our bike, “What’s that?” “That’s a tandem bike.” “What’s a tandem bike?” “A tandem is a two-person bike.” “What’s a two-person bike?” “Well, it’s a tandem!” We all laughed before more explanations. Even a resident cat, a 7 month black kitty named Lance, was the sweetest cat I’d ever encountered. He curled up on my chest in all forms and nudged my chin with his cold nose again and again and at one point, even stole a kiss on my lips! I was just about to empty out one pannier to see how I could fit Lance in, and then I saw the pistol the store clerk was wearing on his waist and changed my mind. Jade, the lovely chef/waitress in the restaurant, did warn me that her husband is the crazy cat lady.
There is no TV in the room, but there is abundant entertainment that is composed of dozens of flies and a swatter. I was just reading a Yelp review the other day on a motel in Klamath Falls, OR, where the reviewer complained about all the flies in the room. I thought it was funny (although not funny to the motel owner) — when you are in the middle of some agriculture land, there is bound to be flies, especially when you leave the room door open for any period of time. Between Tom and Mr. Mud’s swatting competitions, we got a very peaceful night of sleep.
The breakfast next morning did not start until 8am, and was served with a typical small town pace. If you are ever in the hurry to get out, plan ahead and maybe make/order your breakfast the night before. Or, like us, plan a short day and be relaxed about it. I quite enjoyed the breakfast at the Station.
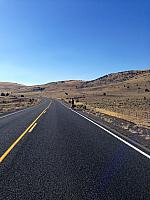
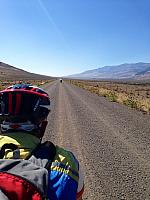
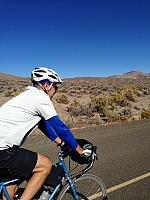
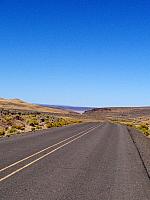
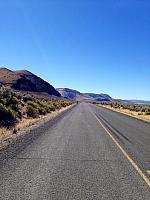
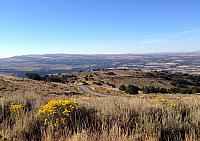
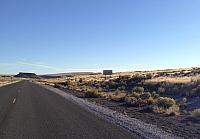
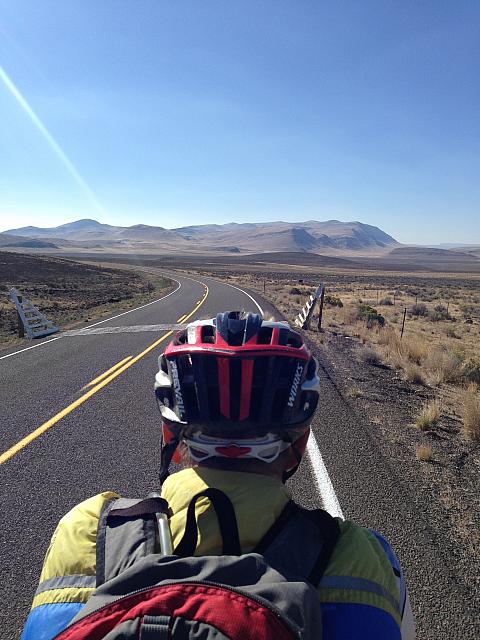 Â First half of the riding was on smooth pavement with occasional gentle hills.
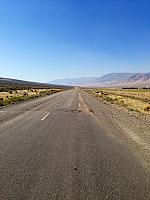
 First half of the riding was on smooth pavement with occasional gentle hills.
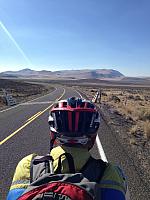
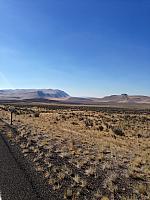
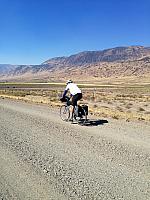
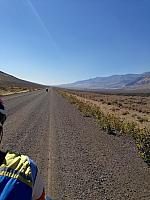
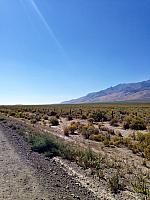
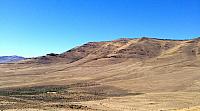
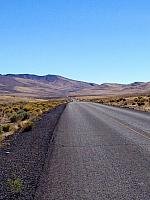
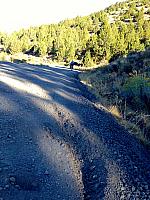
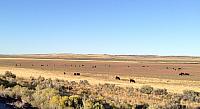
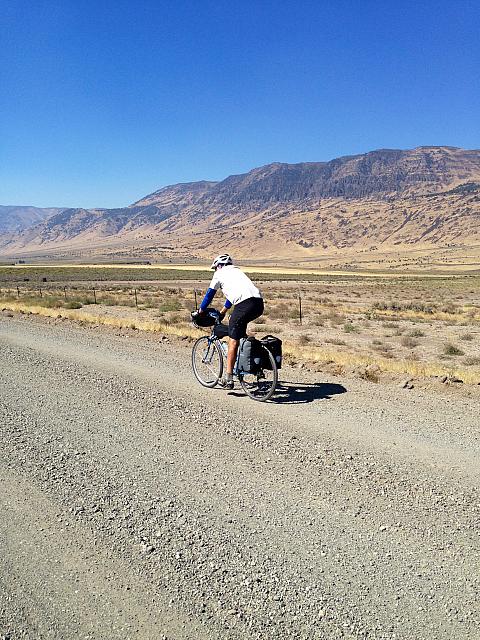 Â Then the gravel hits and it does not seem to end.
 Then the gravel hits and it does not seem to end.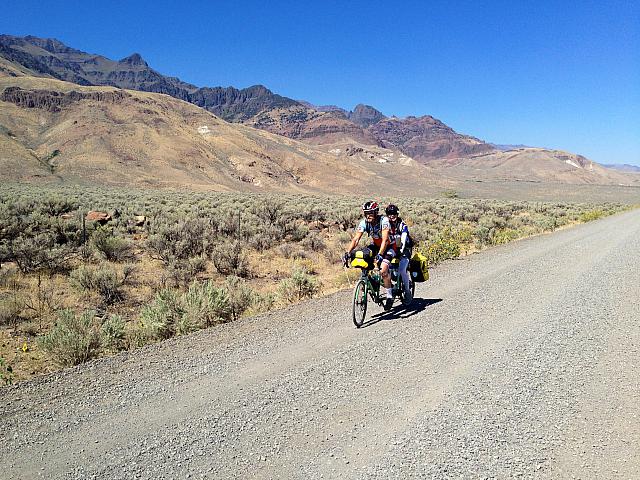  This is Alvord Desert we are riding through.
 Day 2:  Fields Station to S. Steens Mtn Campground: 61 miles / 3k’ / 20 miles of gravel washboard / 06:51:40 over all time
There is a 1000′ climb pretty much right out of the door from Fields Station, so you may want to order your breakfast accordingly. Between Mr. Mud an Tom, there were sausage burps and bacon burps. Thankfully, it was never so steep that would trigger pukeages. Â Actually, it was so gradual that Tom was able to ride by his Powermeter trying to maintain a sustainable power up, except that he also tried to draft off of our tandem that blocked some of the headwind. So, every time Mr. Mud stood up (to relief the saddle pressure), I heard Tom behind me, “God!” “Jesus!” “Jesus Christ!” Â I was expecting him to be a convert when we reached the summit.
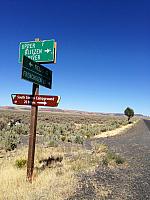
At Mile 40, we reached the turn off to the South Steens Mtn Road. From here, it was mostly unknown to us as we hadn’t read anything about the riding of this section. Well, first, we were surprised by the traffic on the gravel road. Of course, it was all relative and there had been very little traffic on the roads we had traveled so far, so a dozen vehicles encountered on the 20 miles to the campground were considered heavy traffic. Then the washboards. Wow, the washboards! I didn’t know it before, but there was almost nothing we could do at the worst washboard sections. Tried to go fast and float, and we were bounced right off the side of the road. We stayed up right but that was scary! Tried to go almost no speed and roll, and still, the frequency of the washboard and the tandem frame flex resonated so much that we were literally bouncing straight up and down. Once you start bouncing, there is little you can do to stop it effectively.
After gingerly navigating the rolling washboardy gravel road, we reached a short steep section where my GPS registered 11%. When that was over, the climb, albeit not as steep, continued, and then we saw this wall, a long one in front of us. Thank god, that was also when we saw the sign for South Steens Mtn Campground, right before it!
The family campground was not crowded on that Wednesday night. It has a few well houses. We were all able to take a dip shower and got cleaned up. The outhouses were among the cleanest and best smelling I had ever used. IÂ got to talk to a couple who apparently visit the area frequently. They told me that the washboards are at its worst right now because it had been so dry. I suppose the road condition could be better early in the season, but the loop road is only open on July 4th weekend from what I heard.
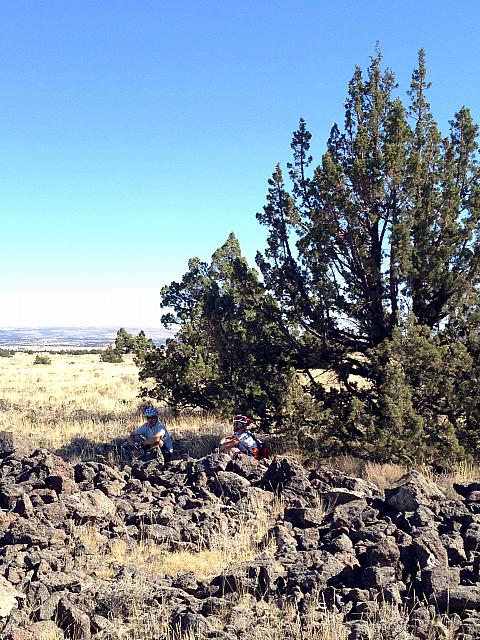
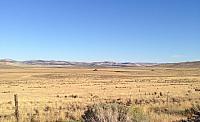
We found one tree on the way to the campground and they sat in its shade for a while. Otherwise, it is overall a high plain desert. We could see the steep climb going across the mountain side. We would be tackling it next day.
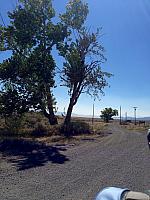
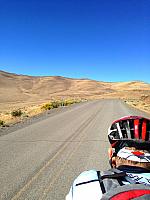
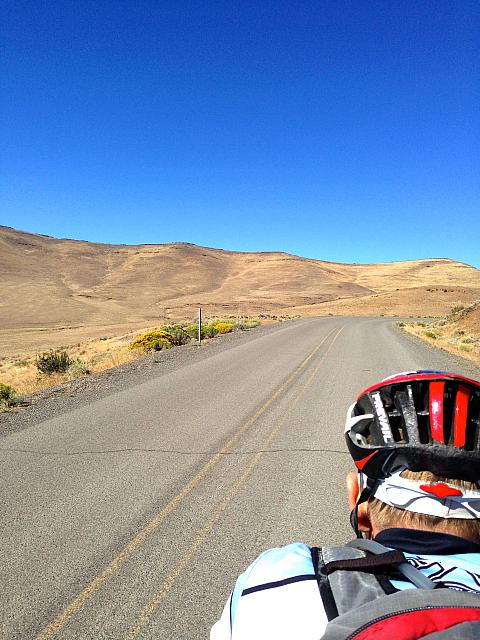 Â The climb out of Fields Station is pretty gentle.
 The climb out of Fields Station is pretty gentle.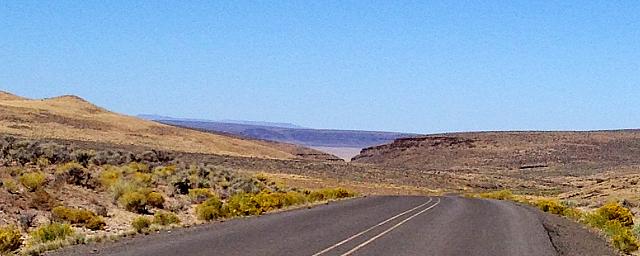  So is the descent.
 Day 3: S. Steens Mtn Campground to Frenchglen Hotel to Crystal Crane Hot Springs: 100 miles / 5.5k’ / 40 miles of gravel / 11:11:50 overall time
We knew this would be a big day. I was a bit apprehensive about the steep climb right out of the campground (gaining 4500′ in 10 miles) and the 30 mile gravel descent on the other side. I guess it was good to set the expectation for the worst. The steep gravel climb was steep alright, but at 8-12%, it was still rideable by our loaded tandem on skinny tires. There was only one spot where seemingly firm ground collapsed under our skinny tires and we got off. The best part was the washboards on the other side of the loop were not as bad as the day before. Rather, they were not bad at all! I found it too nerve wrecking to watch the fast approaching turns on the descent when I couldn’t do anything, so I kept my eyes fixated on the GPS unit mounted in front of me. When we hit 30+ mph, I’d make a weak plea to my captain, “s…l…o…w…” Â We miraculously made it to Frenchglen without mishaps.
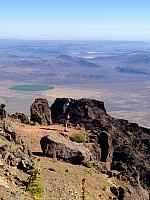
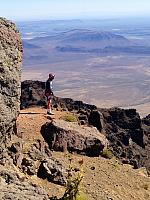
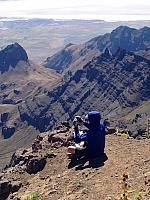
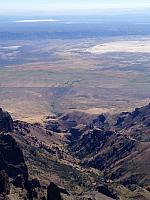
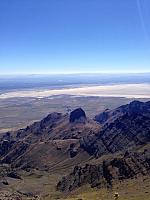
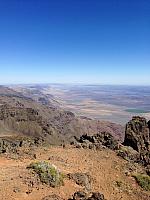
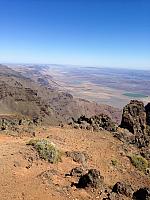
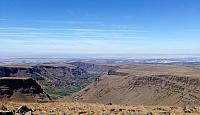
Off the Steens Mtn Rd is a 1/2 mile road to the East Rim. Do no skip it. You are greeted by an expansive view of Alvord Desert. When we arrived, there was high wind over the rim, but by simply dropping down a few feet on the cliff side, we were able to enjoy a leisurely bagel lunch while basking in the sun taking in the gorgeous view.
From there was 30 miles of downhill on gravel, but 10 miles down, we stopped at Fish Lake Campground to fill up our water. Make sure to stay left at the forks that lead you to the well house.
We had hoped to have lunch at Frenchglen Hotel and we were lucky to arrive there before their closing time. We were not aware of the closing time at 2:30pm. Our lunch did not disappoint. The best part though was we got to chat with some other travelers (by RV’s and cars) as well as some locals. We learned from a couple of locals the “best” way to get back to Crane Hot Springs. It would deviate us from the original OBP route, but by now, we were pressed on time to finish the route and we had had our share of gravel for the day. So, from Frenchglen, we took the paved Hwy 205. As the ranger told us, it skirts the same wild life refuge that the gravel road would take us through. Not sure if we missed much in a dry season like this. 17 miles later, we turned right on Diamond Ln, then left on Lava Bed Rd, which become Diamond Craters Rd, which led us all the way back to Hwy 78. The whole way was on quiet pleasant paved roads. We made it back to Crane Hot Springs just when it got dark, although we did make a stop 5 miles before the end to pick up a 6 pack from the Crane general store.
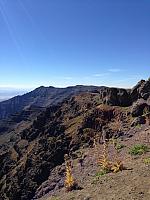
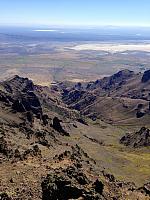
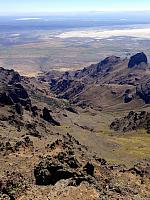
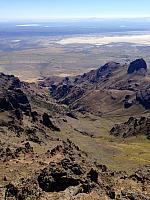
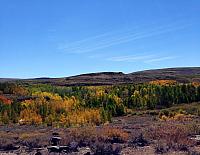
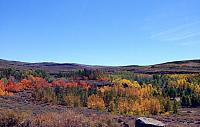
While climbing and descending Steens Mtn Loop Rd, we had a few stunning canyon views, but on the descent, the color display of the aspen forests (near Fish Lake Campground) was more than memorable as well. Again, I don’t know what we missed by not going through the Malheur Lake area, but we were quite pleased with our experience through the Diamond Craters area. And after the 40 miles of gravel climbing and descent, we appreciated the smooth pavement from Frenchglen to Crane Hot Springs. Oh, by the way, on this ride, we did see a coyote running off from us, 17 beetles as Mr. Mud was calling them out and counting, 7 snakes, 2 shotgun shells, and an elk. Not sure why the shotgun shells were listed, but that was from Mr. Mud.
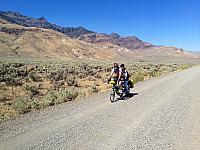
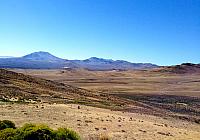
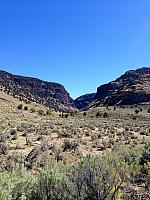
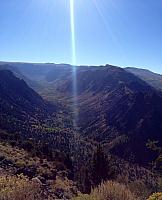
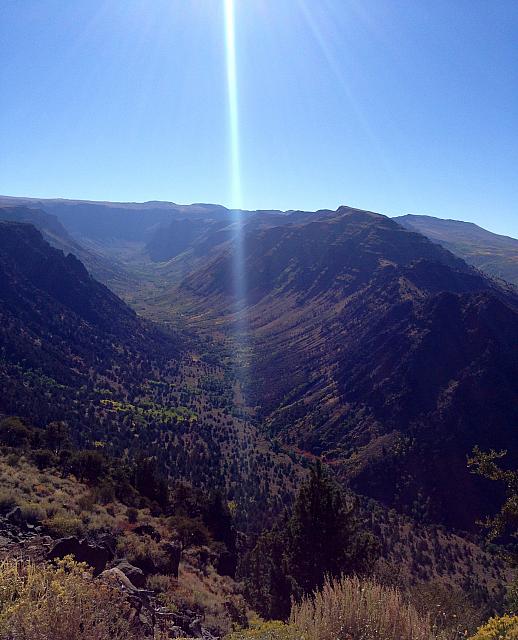 Â Just a view while climbing Steens Mtn. I took it when still pedaling.
 Just a view while climbing Steens Mtn. I took it when still pedaling.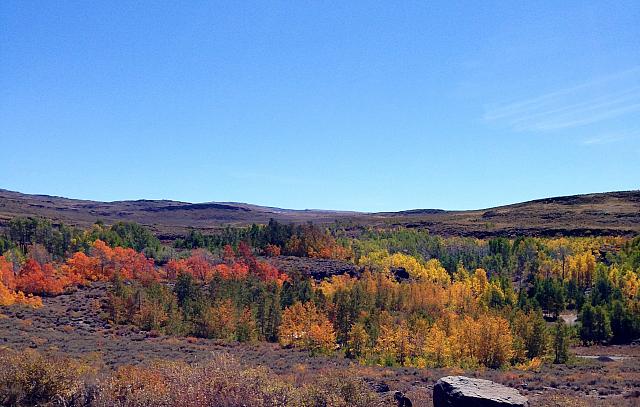  Mr. Mud says the colorful display of the aspen trees was the high light of this tour.
 Route Overview:
Wow, what a loop this is! It was like riding on a 20′ wide bike path the whole way albeit on mixed terrain. There were times where I could count all the vehicles we encountered in 30 miles of riding on one hand. And all the vehicles including trucks pulling trailers and semis were very courteous. The straightway also helped because they could all drive in the other lane without any concern for on coming traffic.
The scenery was one of a kind. For eyes can see, you only see hills, mountains, high desert vegetations, and blue sky. If you are one who fear loneliness, this may not be for you. When you are out there, you are alone. Such a great feeling!
Our three day itinerary is compact, but fairly demanding. I’d recommend it to fit and efficient riders. But I think a four day itinerary might work better for most riders, although it would costs a bit more due to two nights of stay at Frenchglen Hotel. On the other hand, no camping equipment needs to be carried. This is what I personally recommend:
- Day 1: Crystal Crane Hot Springs to Fields Station
- Day 2: Fields Station to Frenchglen Hotel (A very relaxed day for its short distance and minimal climbing)
- Day 3: Steens Mountain Loop with an out and back to East Rim as well as an 1/4 mile out and back to Kiger Gorge outlook (which we regrettably skipped). I recommend CCW so you climb the steep and descend the moderate grade.
- Day 4: Frenchglen Hotel to Crane Hot Springs. After a night of rest, the gravel riding through the wild life refuges will not seem too bad and you also have plenty of time to cover the distance.
A soak in the Crane Hot Springs feels sooooo good after the tour! Enjoy!
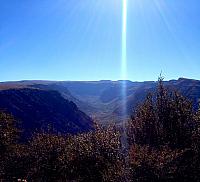
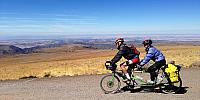
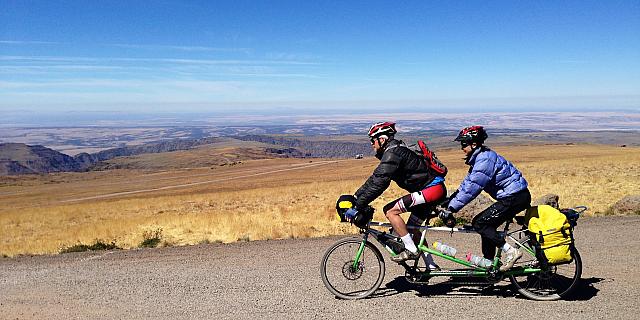 Â Descending from East Rim. The wind chill was so cold that we started the descent in our weather gear.
 Descending from East Rim. The wind chill was so cold that we started the descent in our weather gear.On Bikepacking Touring
This was our first bikepacking tour. We were lucky to have Tom, a world traveler, to mentor us on this tour, and I learned a lot. This section is mostly some quick notes I took down in my head for future bikepacking/touring.
Cooking/food:
- JetBoil makes a very efficient cooking system that boils water fast.
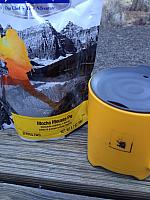
- The freeze dried food packets from REI are good , but the 2-serving portion is usually not enough for two hungry cyclists after a long day of touring. Instant rice (that only requires boiled water to re-hydrate) can provide much needed carbs and supplement the bulk. Between the three of us, we consumed two 2-serving packets with added instant rice.
- Do not throw away the freeze dried food packet. Just rinse them out. Next morning, they serve as the perfect instant oatmeal bowl. No need to do dishes.
- Tom brought some single serving almond butter packets that tasted really good on bagels at our lunch break on Steens Mountain. The packets are hard to find though. Need to look for them and stock up.
- Instant coffee tastes pretty good on a bikepacking tour even when it’s just Safeway brand ones.
- These REI tripod mugs work great. They perch up pretty well even on uneven surfaces.
- This GSI Outdoors Fairshare Mug is great for making a large batch of instant rice and Jetboil fits inside it nicely.
Camping:
- We have Therm-a-Rest NeoAir regular pads. They are light weight and comfortable to sleep on.
- On this trip, we carried Tom’s light weight two-person tent with us, which worked out well. But we were eying his extremely light weight bivy sack solution that provided bug protection. I hear that the guy makes a two-person bivy sack as well. I need to get on the website and look into it. Most of the time, a bivy sack is all you need. If it rains, we’ll need a tent tarp, which we already bought, but never used.
- Bring a microfiber towel and a bandana. After a day of riding, it’s so nice to get out of the sweat soaked riding gear and do a quick shower. Even when a real shower is not available, just with a water spigot, one can easily get the whole body wet and cleaned with a few bandana splashes. It’s very satisfying to be able to clean up. For that reason, I think I will avoid dry camping at all cost. I just can’t imagine being able to make through the night feeling all sticky.
- Bring a long nylon string. It can be so versatile. With a few twists, it makes great cloth hanging string without losing anything to the wind. It can be used to hang up the bivy sack mesh to the tree so it does not sit on your face.
Bike setup:
- Panniers are nice in that they can accommodate a lot of stuff. They surprised me when we were able to fit all three days’ of gear (granted, only one night of camping) into two rear panniers and one handlebar bag and still with room to spare. I was almost bummed that we didn’t get to utilize the front panniers. However, one downside of the panniers is they tend to bounce violently when off-road. Sometimes, the bouncing gets so bad that their clips came loose. Tom wraps the rack members with thick plastic to provide the friction to pannier clips, which seems to work very well.
- The night after the first day of touring (especially if there is off road riding) is a good time to check any loose bolts in the bike and the rack.
- I’m not very knowledgeable on all the bike options out there and I don’t know what is the best bike for all the touring out there, but I know that 26″ wheels paired with 1.35″ tires are not that great for road and gravel riding. We need larger wheels to be more efficient on the road, and higher volume tires for off road riding. Unfortunately, our newly purchased 2.0″ tires would not fit to our tandem. Now onto tandem riding…
On tandem riding:
In June, we bought a used Co-Motion Mocha Steel Tandem with S&S connectors.
Mr. Mud and I are still fairly new to this tandem riding. As explained earlier, a tandem is a two person bike. Mr. Mud is the Captain controlling shifting, braking and steering. I am the Stoker, controlling nothing, but am responsible for all the squealing noises — riding a bike without any control is a scary thing! Â It has two seats and two seat tubes. Under my seat tube is the regular drive train, but on our left side, we both have one chain ring that are connected with a chain, timing chain. Because of this timing chain, we must pedal at the same time and coast at the same time. This is where most of the challenges originate.
On a tandem, you pedal a lot more. That is, a lot more! When the tandem is moving, both riders are pedaling. If one suddenly stops (e.g. start coasting) for no good reason, it will jolt the other rider. No, you don’t stop pedaling all of the sudden. As a result, you are in the seat a lot. Standing up on a tandem feels weird. To this day, we have still not mastered pedaling out of saddle at the same time. On paved climbs, we were able to take turns to stand as long as enough warning is given, but on gravel road, when we were riding a very narrow strip of best traction or least bumps, standing was almost impossible. Now, if your seat is not broken in, you are in for a painful ride. That’s our case anyway. I bought a new seat undemo’ed and untested. Slapped it on the night before. When the topic of riding with a broken collarbone came up later in a conversation, Tom questioned the story where Tyler Hamilton ground his teeth so hard when riding a Tour de France with a broken shoulder that he needed to have 11 teeth capped afterwards. I told him that I could believe the story because on this tour, my seat bones were in a lot of pain from the pure pressure on the new seat. Sometimes, when there was a long stretch without relief (such as an opportunity to stand), I found myself clenching my teeth so hard that my jaws started hurting. Lesson learned: do not slap on a new seat right before a tandem tour.
When bike shopping, one of the geometry factors is the wheelbase. I never paid much attention to it. Well, anyone can picture that a tandem has a much longer wheel base than a regular bike. It’s great when descending smooth pavement because the long vessel shape and the momentum warrant a fast descent… until I start to squeal out of fear for my life. However, off road, the long wheelbase is a disadvantage. When there is any bump, the bike flexes a lot more due to the long wheelbase. That’s why we had a hell of time on the 20 miles of washboards on the south side of the Steens Mtn Rd. Bigger wheels and higher volume tires may help in that situation.
At last but most important lesson we learned: adjust the timing chain before the tour! Well, we were not even aware of the timing chain adjustment. Yes, on our very few rides we did prior to the tour, the chain had fallen off a few times, but we thought the sag in the chain was by design — so the chain could be remounted easily. Well, we were wrong. And when there is slack in the timing chain, any off road bump may bounce the chain right off as it happened to us a couple of times the first day once we hit the gravel section. That’s when Tom pointed out that our timing chain was loose. The first remedy: try not to pedal when the chain is bouncing. That got us to Fields Station. After dinner, we had time to look at the bike. We found clear instructions on timing chain adjustment, however, the instructions apparently work very well with FSA crank (as also confirmed by our friend Brian), but with our Truvativ crank, no regular Allen wrench can reach the holes behind the spider. It will require pulling the crank off! Tom cussed Co-Motion out loud since they spec’ed out the Truvativ crank, and we decided not to mess with it. However, we did learn to adapt to the situation and the chain only bounced off twice on the long (30 mile) gravel descent off Steens Mtn. Following are the strategies:
- Do not pedal when there is any bouncing in the chain. I as the stoker was watching the chain closely. It must be frustrating to the Captain when the crank suddenly stopped moving, but it’s worth it — if you see the chain is vibrating side ways, dropped chain is bound to happen on the next pedal stroke.
- When pedaling, keep the top of the timing chain taut at all time when you can. A taut chain will not vibrate violently side ways. I consider myself having good stoker ethics in that I try not to slack off in the back. However, it was on the gravel road, I found that I really should not be an over zealous stoker. The reason is simple: imagine the extreme, if it’s just me, the stoker, who is doing the pedaling, you can picture that the bottom of the timing chain becomes straight while the top droops off. That’s not what we want. On the other hand, the stoker needs to be just a little behind the captain. When we were still on the climb up, I was sure that it added some effort on Mr. Mud’s part, but we were able to climb non-stop for 10 miles.
- Move the two cranks out of phase. Mr. Mud and I had always ridden in phase — with the cranks at the exact same angle all the time. That’s what we were doing riding over the washboard stretch. I had my eyes fixed on the chain, always trying to be a step behind Mr. Mud so the top of chain was taut, but it was hard to achieve and took a lot of my concentration. After the second time we dropped the chain, just out of desperation for trying something, anything, different, we decided to move our cranks out of phase by 90 degrees, to my pleasant surprise, it became a lot easier to keep the timing chain tight on the top. We finished the rest of the ride tandeming out of phase. It didn’t even feel weird! Weird, eh?
- On fast descent, any bumps are exaggerated due to the speed. When we were coasting downhill, I tried to backpedal — not enough to actually turn the cranks backwards, but enough to keep the top of the chain taut despite the faster vibrations.
I was pleased that the above strategies got us through the worst gravel riding on the loop. But really, the first lesson we learned is, again: adjust the timing chain.
Photos
20140909 OR Steens Mtn Tour Day 1
20140910 OR Steens Mtn Tour Day 2
20140911 OR Steens Mtn Tour Day 3
Extra
This is us, three travelers racing the setting sun. Even then, the boys stopped at Crane store (6 miles before the end) and picked up a 6 pack. We rolled in at 7:40pm, just before any bike lights became a absolute requirement which we were not equipped with.
Video (must watch with sound!): On the way back to Bend, we found this awesome playground in Burns, where tall slides and swings managed to survive. Tom and Mr Mud had a lot of fun pushing the swings higher and higher. I’m bookmarking this video so whenever I feel down, I can watch it and it’ll crack me up instantly.
P.S. I posted my report to Oregon Bikepacking forum: http://www.oregonbikepacking.com/forums/topic/steens-mtn-tour-report-sept-9-11/
Two wonderful articles found at adventurecycling.org:
- Post ID: 2650
- Categories: Mountain Biking , Road Biking
- Comments(2)
- Previous Post
- Next Post


 Â
  Â
  Â









That looks awesome! And I’m very impressed with the oregonbikepacking website… I’ll have to add it to my list.
Thanks for the awesome description and pictures. I’m going to take this exact route sometime this coming summer. I live in Vancouver, WA but I’m familiar with the area as I have been down their twice in the last 3 years. I did the loop in my Sequoia, went to Fields Station, the French Glen Hotel, the Alvord Hot Springs (my last name is even “Alvord”) and I even drove out on the Alvord Desert. Like you say it’s an amazing area and I can’t wait to get back down there! Thank you again foer the blog and itinerary, etc! Have a nice day.
Kevin Alvord